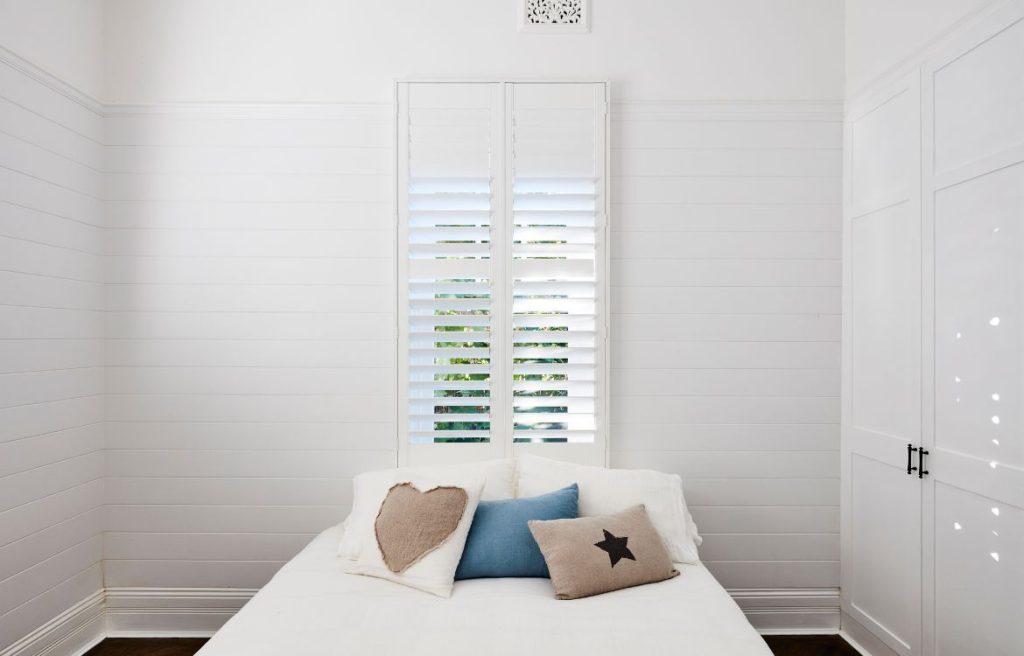
Having trouble adding your own flair to the house? We totally get it – there’s nothing quite like nailing a DIY job. Industry insiders reckon you can pocket up to a half of what you’d normally fork out for window dressings if you roll up your sleeves and have a go yourself.
Our guide is chock-a-block with tips on how to fit those plantation shutters like a pro. Keen to give your windows a bit of love?
Key Takeaways
- Save money by installing plantation shutters yourself using a DIY kit that includes all the necessary tools.
- Customise your shutters to fit any window shape or style, making them perfect for your home.
- Prepare the right tools like a drill, level and measuring tape before starting the installation process.
- Follow simple steps to assemble the frame, attach it to your window and hang panels correctly.
- Check everything is straight and working smoothly after installation for a professional look.
Benefits of Installing Your Own Plantation Shutters
By installing your own plantation shutters, you can save on installation costs and have complete control over the design. The process is also straightforward and can be customised

to fit any window size or shape.
Cost savings
We all love saving money, right? Choosing DIY plantation shutters installation can keep more cash in our pockets. Hiring professionals often means paying a lot for their time and skills. But when we do the job ourselves, we only pay for the materials.
Plus, buying DIY plantation shutters kits cuts costs even further. These kits come with everything needed to fit our window treatments perfectly. Now let’s talk about how you can make your design just as unique as your home with “Customisable design”.
Customisable design
When installing your own plantation shutters, customisable designs allow you to match the style and decor of your home. With options for different finishes, colours, and
materials, you can create a unique look that complements your interior design.
Whether you prefer traditional timber or modern vinyl, the customisable design ensures that your DIY installation will result in a shutter frame that seamlessly fits into the aesthetic of your space.
Plus, customisation extends to the size and shape of the shutters as well. This means even if you have bay windows or unconventional window reveals, you can still achieve a professional-looking inside mount for your plantation shutters.
Easy installation process
With our DIY kit and the right tools, installing custom plantation shutters on your windows is a breeze. Begin by assembling the shutter frame according to the step-by-step guide provided in the kit.
Then, securely attach the frame to your window with the installation hardware included. Next, hang the shutter panels onto the frame and adjust any necessary hardware for a perfect fit.
Don’t forget to fine-tune and check everything before enjoying your newly installed plantation shutters!
Preparing for Installation
Before diving into the installation process, it’s important to prepare yourself with the necessary tools and equipment. Whether it’s purchasing a DIY kit or ensuring you have all the
right tools ahead of time, thorough preparation is key to a successful installation.
Purchasing a DIY kit with necessary tools
We advise exploring DIY kits for plantation shutters that come with all the essential tools needed for installation. Look for kits including shutter frames, panels, and hardware like screws and hinges.
It’s also beneficial to ensure the kit includes clear instructions to guide you through each step of the process. Having a comprehensive DIY kit can make your installation journey much smoother.
When shopping for a DIY kit, it’s important to check if it contains everything required so you won’t have to make additional trips to the shop.
Ensure that the tools included are of good quality to handle the installation process effectively.

Owning the right tools ahead of time
To make the DIY installation process smooth, it’s crucial to have the right tools ready beforehand. You’ll need a drill with screwdriver bits, a spirit level for accuracy, and a measuring tape for precise placement.
Additionally, ensure you have a saw for any necessary adjustments and safety goggles to protect your eyes from debris. Having these tools on hand will streamline the installation process and prevent delays or frustrations.
Investing in good-quality tools will not only simplify the installation but also ensure that your plantation shutters are securely mounted. Remember to refer to the manufacturer’s guidelines when choosing specific tools and always prioritise safety when handling them during the installation process.
Step-by-Step Installation Process
Get ready to install your plantation shutters with our step-by-step process. From assembling the frame to hanging the panels, we’ll guide you through each stage for a flawless

installation.
Assembling the shutter frame
Here is a step-by-step guide on assembling the shutter frame:
- Gather all the necessary tools and materials for the installation, including the shutter panels, frame components, screws, and a screwdriver or drill.
- Lay out all the frame components and identify the top, bottom, and side pieces. Refer to the manufacturer’s instructions for specific details.
- Begin by attaching the top piece of the frame. Align it with the desired position on the window opening and use a level to ensure it is straight.
- Mark the screw hole locations on the window frame and pre-drill pilot holes to prevent any splitting or damage.
- Secure the top piece to the window frame using appropriate screws. Make sure it is firmly fixed in place, but be cautious not to overtighten.
- Repeat the same process for the bottom piece of the frame, ensuring it is aligned and levelled.
- Attach the side pieces of the frame, starting from the top and working your way down. Make sure to align them with the top and bottom pieces and check for levelness.
- Once all sides are securely attached, check the frame for any gaps or misalignments. Adjust the screws if necessary to achieve a snug fit.
- Double-check the frame’s stability and alignment, ensuring it is securely fastened to the window frame.
- Finally, use a level and measuring tape to confirm that the frame is perfectly vertical and evenly aligned.
Remember to consult the manufacturer’s instructions specific to your shutter frame and seek professional assistance if needed. Proper assembly is crucial for a successful installation.
Attaching the frame to the window
After successfully assembling the shutter frame, the next step is to attach the frame to the window. Here are the steps you need to follow:
- Locate the pre – drilled holes on the frame that align with the window frame.
- Hold the frame against the window and use a level to ensure it is straight and aligned.
- Securely attach the frame using screws and a screwdriver or drill, making sure it is firmly fixed in place.
- Double – check the alignment and stability of the frame before proceeding to hang the shutter panels.
Hanging the shutter panels
After attaching the frame to the window, it’s time to hang the shutter panels. Here’s how:
- Lift the panel and fit the top hinge onto the frame’s top hinge pin.
- Swing the bottom of the panel towards the frame and align it with the bottom hinge.
- Insert the bottom hinge onto the frame’s bottom hinge pin.
- Ensure that both hinges are securely attached.
- Check that the panels open and close smoothly.
- Adjust as necessary to ensure they fit perfectly.
Attaching any necessary hardware
- Place the hinges on the shutter frame and ensure they are evenly spaced and aligned.
- Secure the hinges in place using a screwdriver, making sure they are firmly attached to the frame.
- Attach any additional hardware such as latches or handles according to the manufacturer’s instructions.
- Double – check the alignment and positioning of all hardware before tightening the screws completely.
Checking and adjusting the shutter frame
To make sure the shutter frame is correctly installed and functioning, follow these steps:
- Look for any gaps between the frame and the window, and adjust the placement if necessary using shims.
- Use a level to ensure that the frame is straight and aligned with the window.
- Test the opening and closing of the shutters to ensure they move smoothly without any obstructions.
- Check for any loose or misaligned parts, tightening screws or adjusting components as needed.
- Lastly, step back and inspect the entire installation from different angles to ensure it looks neat and symmetrical.
Get an Instant Free Quote for DIY Plantation Shutter Installation – Start Saving Now!
So there you have it: easy steps to mount your own plantation shutters. It’s a cost-effective way to add charm and functionality to your home. Installing custom shutters using our DIY guide is a satisfying project with great results!


